Power platform and Custom connectors to Azure AD (Part 2)
Problem
- You need to programmatically access ALL available attributes for User and Group objects in Azure AD
- This can be in Power Apps (like in my previous post), Power Automate, a completely separate app that is making calls to Microsoft’s Graph API, which is the backend API for Azure AD
- But the built-in, default, and free connectors available to Power Platform users do not provide access to ALL attributes, only a subset
- This means you need a “premium” 💎 connector to Graph API that you can use in your Power Platform apps. (“premium” 💎 in quotes, as I believe this connector would be free for a home-made app, but requires expensive Power Apps and Power Automate licenses for Power Platform apps running…thanks Microsoft…)
*sigh*
Solution
I will try to keep the solution short and sweet but this one will be a bit longer as there are quite a few steps here. If you prefer a less detailed guide, check out Microsoft’s documentation which is focused on custom apps instead of Power Platform. And if you are video kinda person, try this one 14 minute long basic guide from spjeff. Good stuff!
Solution Part 1: Create one or more App Registrations in Azure AD (aka Microsoft Entra 🙄)
You need to authorize your custom connectors to access Graph API info and you do this via App Registrations in Azure AD. I assume that you are somewhat familiar with App Registrations already, as they are the basic authentication and authorization mechanisms used for access your data stored in Microsoft 365, and for today that means Microsoft Graph (aka MS365’s backend). I created two app registrations for my three connectors. One App Registration allows Read permissions to Graph API for users and groups and the second has READ and WRITE access. Here are the basic steps needed and a GIF video guide follows as well:
- With your global admin account, navigate to https://entra.microsoft.com/#view/Microsoft_AAD_RegisteredApps/ApplicationsListBlade/quickStartType~/null/sourceType/Microsoft_AAD_IAM
- Create a “New Registration” and in the next screen give it a name. I used GetAllUserAndGroupsFromGraph for the Read-permissions custom connectors. Leave to “Supported account types” to its defaults and the “Redirect URL” can remain blank here.
- Click “Register” to save
- OPTIONAL: Now on your newly created App Registration you can update the branding under “Branding and properties” if you’d like to use a profile picture as its icon and some URL info for other admins
- You need to now generate a client secret, which will act as a self-expiring password in order to provide access for your custom connector, so click “Clients and Secrets” and then the “Client Secret” tab.
- Here you will create a “New Client Secret” with a description of your choosing and a length of time under “Expiration” for the expiration of the secret/password. I went with 365 days. NOTE: in a production environment, it is recommended to authorize your apps or custom connectors via certificates rather than with client secrets.
- IMPORTANT: Copy the “Value” (this is the password you need for the connector) field here temporarily to Notepad as this is the one and only time you can read it. Keep this password/secret super-safe as it will provide access to ALL your user and group data should someone gain access to it. DO NOT SAVE IT IN PLAIN TEXT IN A PROD ENVIRONMENT.
- The above steps have completed the Authentication portion of your App Registration, now you need to complete the Authorization(s) by clicking on “API Permissions”
- SIDE NOTE: At this point in the guide, you need to make a security decision. You can create one App Registration to rule them all and assign READ and WRITE permissions to your app, or you can later create a 2nd App Registration that does READ and WRITE, while leaving this one to have only READ permissions. I went with the latter, so that is what you should do now.
- You need three types of “API Permissions” for the Graph API here, Directory, User and Group (NOTE: User.Read is assigned to all Graph API App Registrations by default). Click “Add Permission” and then the big, big box at the top “Microsoft Graph” and the “Delegated Permissions”
- In the search box, search for “Directory” and check Directory.ReadAll and don’t save by clicking “Add Permissions” just yet (Note the option for Directory.ReadWrite.All)
- Now search for User and scroll until the plain “User” field appears. Here you will check “User.Read.All” and “User.ReadBasic.All” (Again there are options for User.ReadWrite.All)
- Finally search for “Group” and check Group.Read.All (and again there is a WRITE option)
- I mention all the WRITE options here, as these are the permissions that will be needed when you create a super App Registration that does everything or second WRITE App Registration for the “Create” and “Set” custom connectors which I will discuss later
- With your Directory, User, and Group API Permissions all checked, now click “Add Permissions”
- You will need to “Consent” to this access to Microsoft Graph for your new App Registration, by clicking “Grant admin consent for {Name of your MS365 Tenant}.” This essentially makes it official that any app or custom connector in Power Platform with your client secret value can read (or write depending on what you chose) your Azure AD data.
- Finally, once you save the App Registration by clicking “Create App Registration,” you will be taken to the overview screen for this App Registration. Here you should copy the “Application (client) ID” and paste it into your notepad with the “Client Secret” from earlier.
Part 2 – Create Custom Connector(s) in Power Apps / Power Platform
With your App Registration created, authenticated and authorized, you can create a new custom connector in Power Apps. But where to do this? Oh, easy you can just follow the Microsoft documentation, easy. Oh what’s that? The screenshots in the MS documentation don’t match what you see in Power Apps?

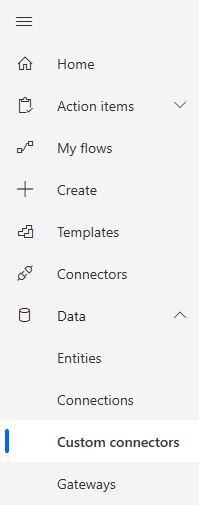
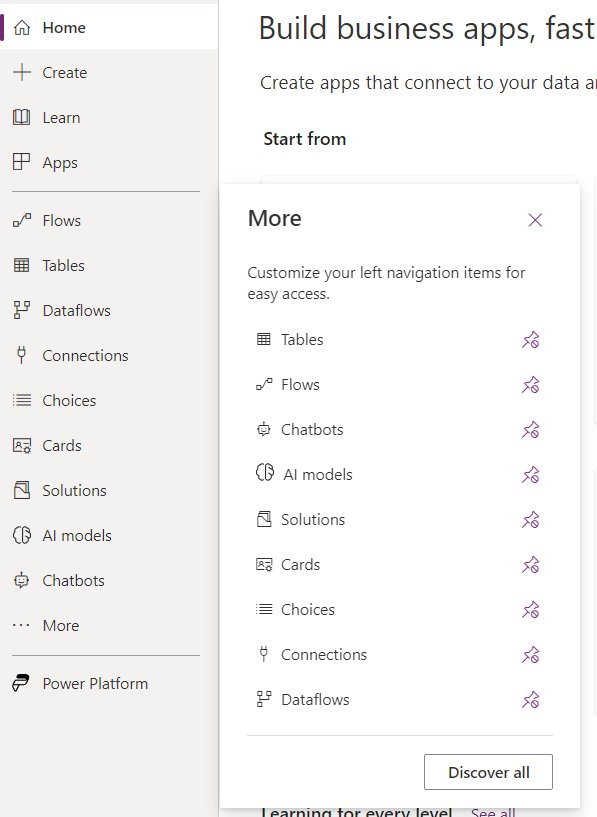
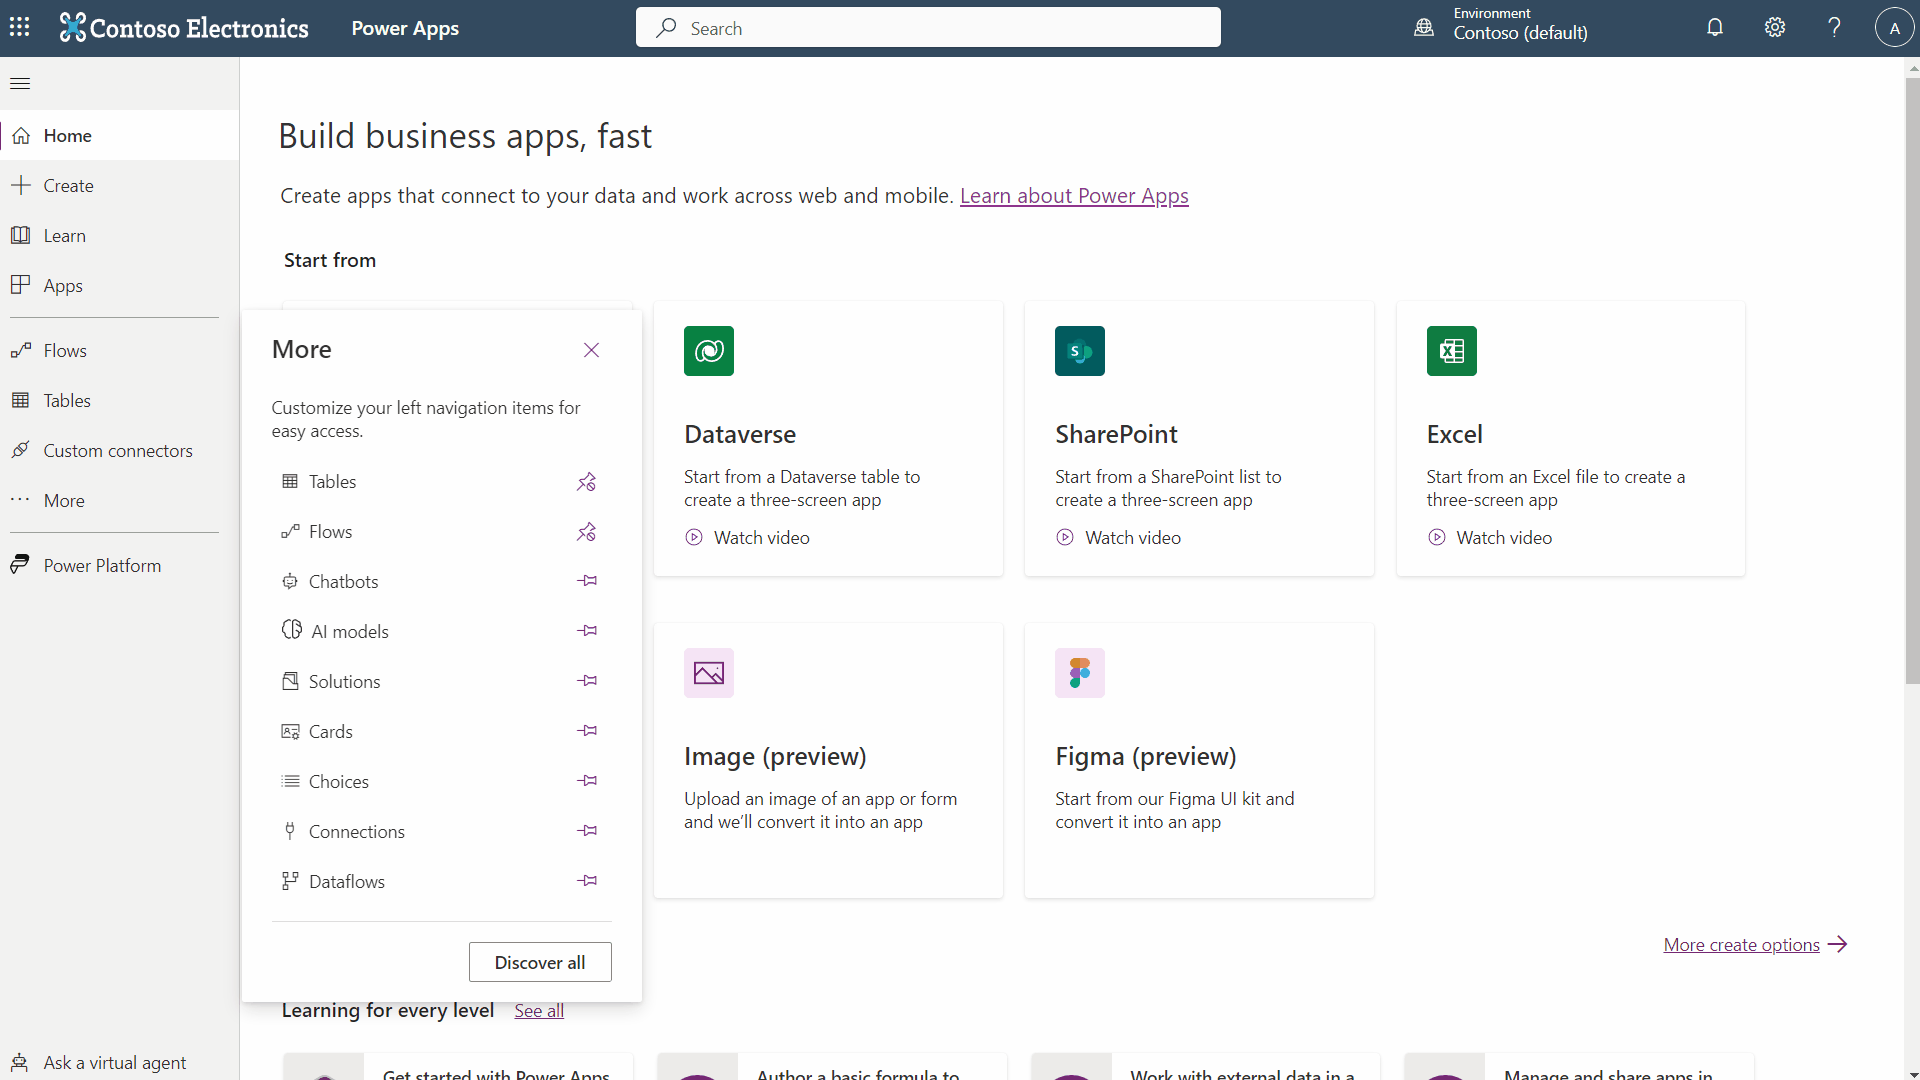
No “Data” menu huh? And there is no “Custom” option under “Connectors.” I hope that by the time you are reading this, that “problem” is fixed. The actual “Custom Connector” menu is hidden under “Discovery All.” Try this GIF:
Now that you have found the hidden custom connector menu, you can create one. Here are the steps, followed again by a GIF if you prefer:
- Click on “Create custom connector” and then “Start from blank” in the menu in the upper right
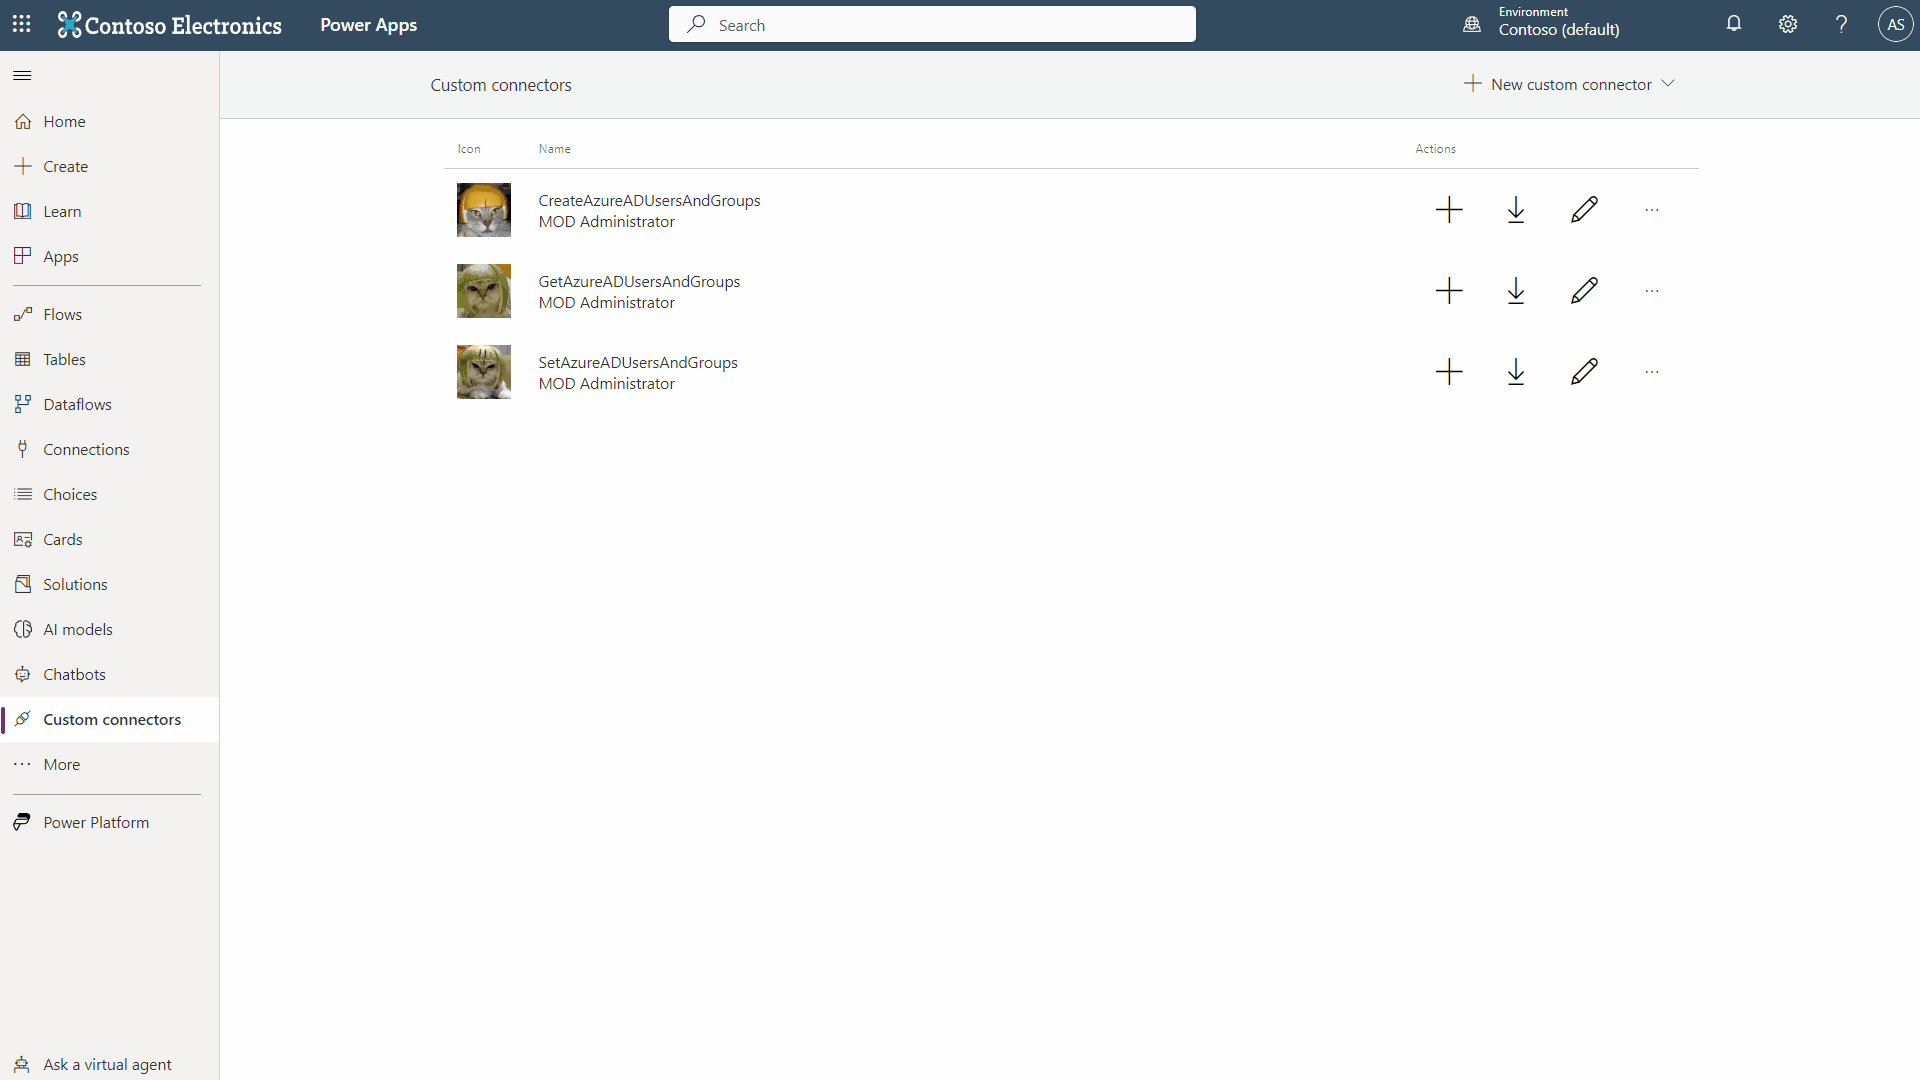
- Give your connector a name. I suggest for your demo here to use GetAzureADUsersAndGroups. In my test environment I made three connectors and two app registrations:
| Custom Connector Name | Operations supported | App Registration used |
| GetAzureADUsersAndGroups | Get all Users returning ALL Azure AD attributes Get all Groups returning ALL Azure AD attributes Get one User based on UPN returning all Azure AD Attributes Get one Group based on Group-ID returning all Azure AD Attributes | GetAllUserAndGroupsFromGraph |
| SetAzureADUsersAndGroups | Set one existing User’s Azure AD Attributes based on UPN Set one existing Groups’s Azure AD Attributes based on Group-ID | SetAllUserAndGroupsFromGraph |
| CreateAzureADUsersAndGroups | Create one User in Azure AD with all Attributes Create one Groups in Azure AD with all Attributes | SetAllUserAndGroupsFromGraph |
- NOTE: This post is focused on the first option, GetAzureADUsersAndGroups. If you can get this first App Registration + Custom Connector combo working, you will figure out how the other’s work as well (remember the WRITE permissions discussed in Part 1). If it is giving you trouble, feel free to shoot me a mail via the contact form.
- There are 5 pages where you can configure different aspects of the connector here and fortunately you can ignore 3 of them. You start on the “General” page where you can upload a picture/icon for the connector and give it a “Description.”
- Leave the “Scheme” at “https” and “Host” needs to be “graph.microsoft.com” and “Base URL’ stays as “/”
- Now click on “Security” and here choose “OAuth 2.0” as the “Authentication type” and now in the “OAuth 2.0” fields choose “Azure Active Directory” as the “Identity Provider”
- Remember your “Client Secret” and “Application (client) ID” from the App Registration(s) you created earlier? They should be pasted in their respective “Client ID” and “Client secret” fields here. Again: DO NOT SAVE THE TXT FILE IN PLAIN TEXT!
- Now add the “Resource URL” of “https://graph.microsoft.com” and all other fields can stay their current defaults. Click “Definition” to proceed.
- On the definition screen things get complicated. You can think of it this way: by creating the custom connector you, have created an object like in object oriented programming, and here on the definition screen you will define 😉 the functions or actions in MS-speak that you can call from this object. Your first action/function will be “GetAzureADUsersAllAttributes” so click the “New Action” button.
- Under “General” you need to enter a “Summary,” “Description,” and “Operation.” I recommend using “GetAzureADUsersAllAttributes” for all three.
- Every operation needs a defined request which is the call you are making to the Graph API. Under “Request” click on “Import from Sample.” Since you are just “getting” info in this example choose “GET” in the side window that pops up and input this for the URL:
https://graph.microsoft.com/v1.0/users?$select=id,businessPhones,city,companyName,country,department,displayName,employeeId,faxNumber,givenName,imAddresses,jobTitle,mail,mailNickname,mobilePhone,officeLocation,onPremisesDistinguishedName,onPremisesDomainName,onPremisesExtensionAttributes,onPremisesImmutableId,onPremisesUserPrincipalName,otherMails,postalCode,preferredDataLocation,preferredLanguage,state,streetAddress,surname,usageLocation,userPrincipalName,userType
- Click close and then “Create Connector” in the menu at the top to save your progress
- Ok so what the hell is that URL and where did it come from? These URLs are the calls to the Graph API which you can test for yourself here: https://developer.microsoft.com/en-us/graph/graph-explorer
- For every definition (aka function) that you want to create, you will need a request URL and, if you are inputting parameters such as for Set or Create functions, a body. These can all be tested and played around with in the Graph API explorer above, but fortunately, I have done the hard work for you! Here is a TXT file with all the definitions that I created in my various custom connectors. Once you get the hang of the Graph API explorer and custom connectors, the TXT file will make your life much easier. You’re welcome!
- From the TXT file just pick your name, verb for the action/function, URL, and Request body and copy and paste them into the appropriate field and you are good to go.
- Ok now that you have your action defined and the and saved, move on to the next screen “Code (preview)”
- Skip this screen! Yay! This is for developers writing homebrew apps and you don’t need it. Click on “Test”
- Here you can test your custom connector and the action(s) you have defined for it. Go ahead. These tests should mirror the output you get from testing in the Graph Explorer. If you make any changes to the connector or add or change actions, you will need to “Update Connector” in the upper menu before you can test things. Make sure also that you are testing the correct action, which is a mistake I have made more than once.
Solution Part 3: How to use your new Custom Connector in Power Apps
Almost done now. You can now call your custom connector by adding it as a data source in Power Apps und using the correct format to call all the parameters (the “select” attributes from the URL I provided). Here are some code examples for Power Apps followed by a nice easy GIF.
- First you will need to add the custom connector(s) to your Power App in make.powerapps.com (custom connectors are not supported in Power Apps for Teams ☹️). That’s under “Data” then “Add data” and you will have to scroll a lot looking for the name of your custom connector; no search function here
- If you have followed the guide so far you should have a custom connector called GetAzureADUsersAndGroups, so add that.
- Now on a blank screen you can use the “OnVisible” property of the screen to run the following commands:
Set(varAzureADUserAllAttributes, GetAzureADUsersAndGroups.GetAzureADUserUPNAllAttributes("{UPN HERE}", {'$select':"id,businessPhones,city,companyName,country,department,displayName,employeeId,faxNumber,givenName,imAddresses,jobTitle,mail,mailNickname,mobilePhone,officeLocation,onPremisesDistinguishedName,onPremisesDomainName,onPremisesExtensionAttributes,onPremisesImmutableId,onPremisesUserPrincipalName,otherMails,postalCode,preferredDataLocation,preferredLanguage,state,streetAddress,surname,usageLocation,userPrincipalName,userType"}));
AND
ClearCollect(colAzureADAllUsersAllAttributes, (GetAzureADUsersAndGroups.GetAzureADUsersAllAttributes({'$select':"id,businessPhones,city,companyName,country,department,displayName,employeeId,faxNumber,givenName,imAddresses,jobTitle,mail,mailNickname,mobilePhone,officeLocation,onPremisesDistinguishedName,onPremisesDomainName,onPremisesExtensionAttributes,onPremisesImmutableId,onPremisesUserPrincipalName,otherMails,postalCode,preferredDataLocation,preferredLanguage,state,streetAddress,surname,usageLocation,userPrincipalName,userType"})).value);
- You now have a Variable (varAzureADUserAllAttributes, be sure to update the UPN removing the {} as well) which contains a record of one user and all their attributes from Azure AD. Furthermore, you now have a Collection (colAzureAdAllUsersAllAttributes) which contains ALL users from Azure AD and all their attributes in a nice table/collection format
Conclusion
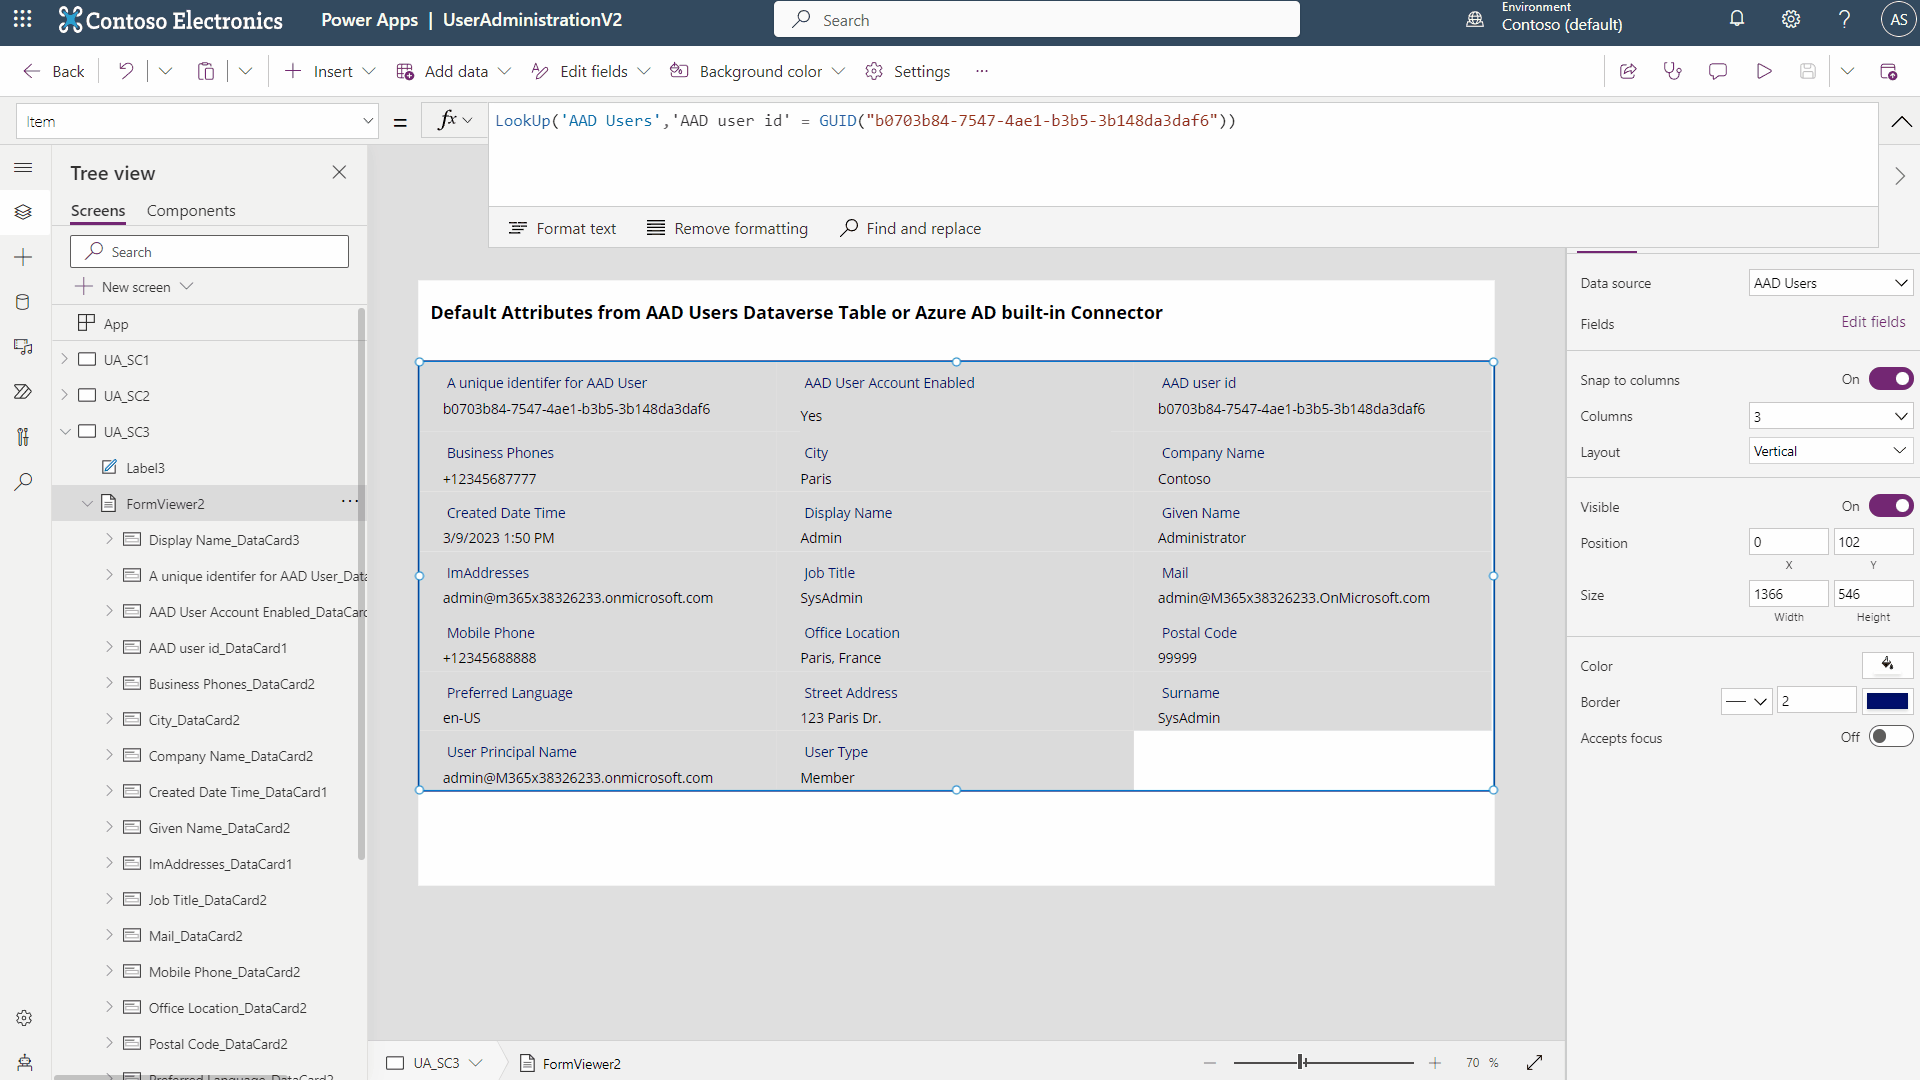
In my next blog post I will demonstrate a Power App that uses the custom connectors, one of which you created today, to be used in my UserAdministration Power App, which allows full control over the creation of new users in Azure AD for non-technical end-users. In the meantime, here is a quick GIF demo of the custom connector you created earlier. Thanks for reading!